"Little Gourmet Goodness"
Several weeks ago my daughter baked a batch of these wonderful, indescribable cupcakes. I was so impressed!!! But.....she shared them with all her friends and I DID NOT get one so I told her she had to share the recipe with me. I'm just that way you know!!
She did better than that ....she came up Sunday and spent the afternoon in the kitchen with me making a whole batch for me to share with my friends!!
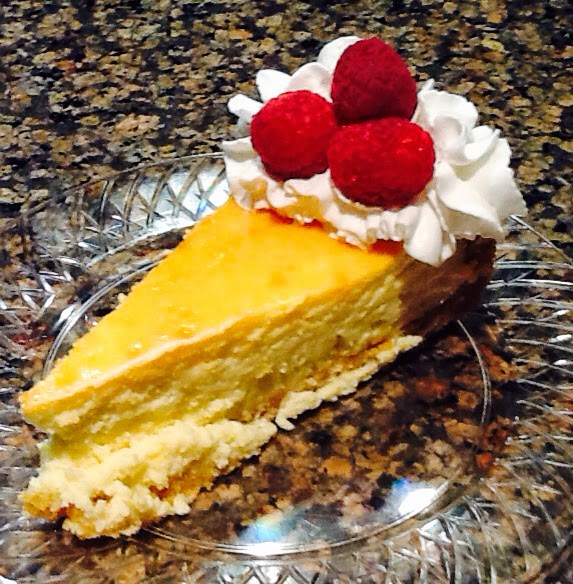
These are beautiful, rich, and very labor intensive....not hard just a lot of steps .... and best of all they save you the price tag of one in those "Little Cake" shops!!! They would be great for a special birthday or occasion to show off your baking skills and impress your family and friends.
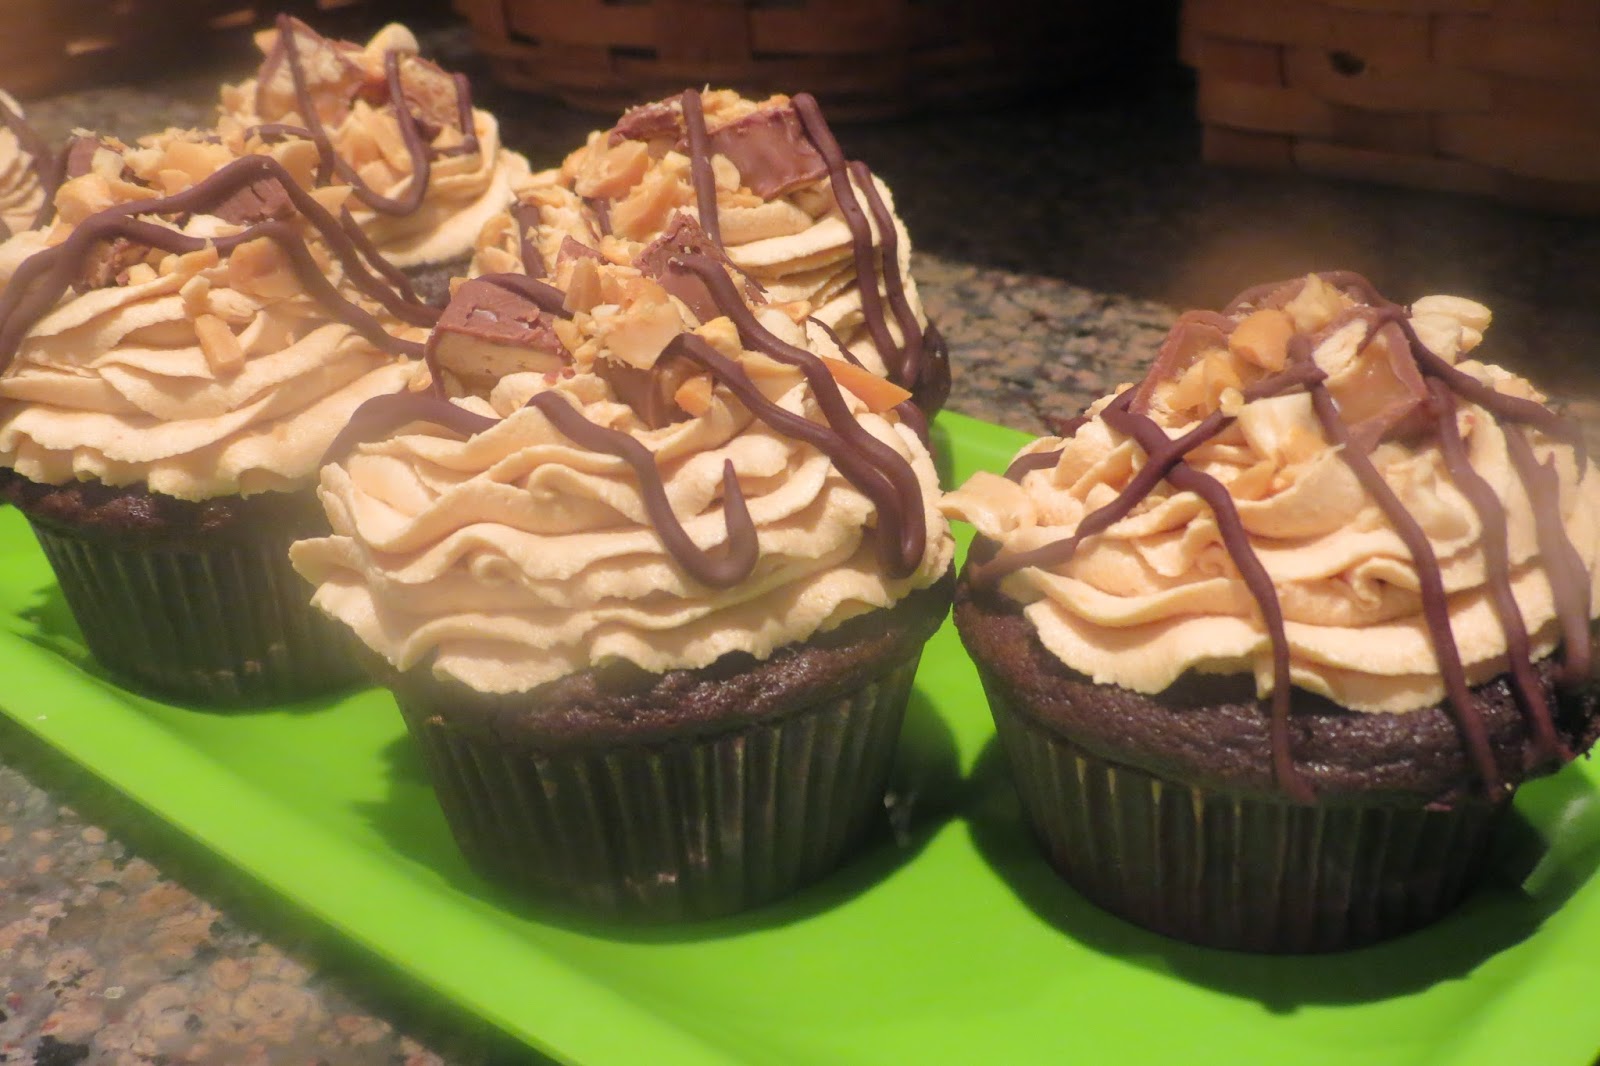
Snicker's Cupcakes
Yeild : 18 cupcakes
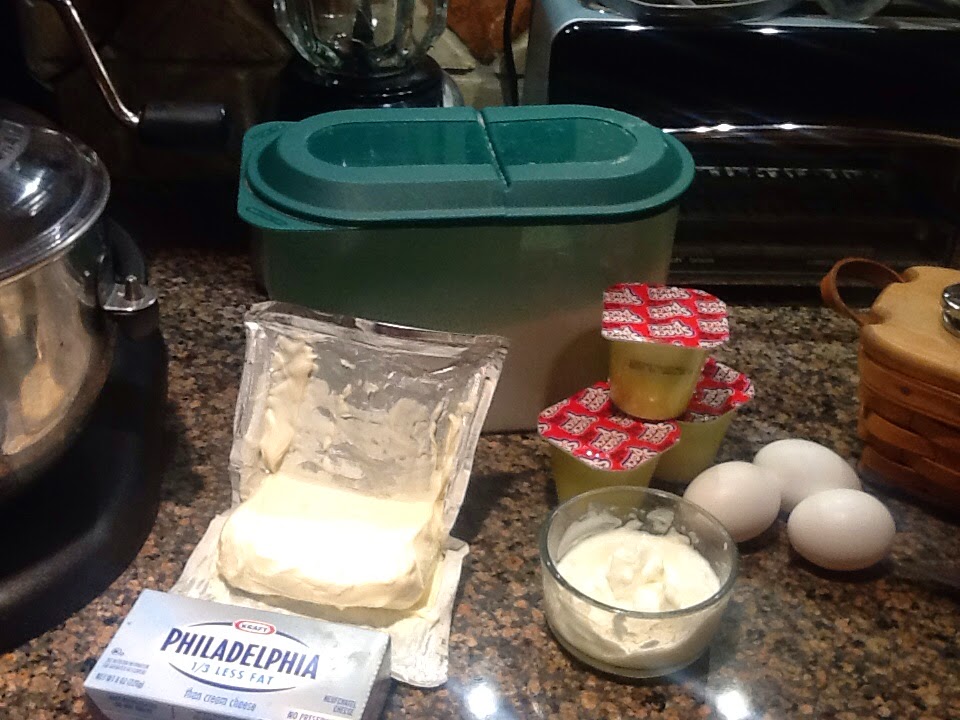
Ingredients:
For the cupcakes:
1 1/3 cups flour
1 cup good quality cocoa powder ( I used Ghirardelli)
1 1/2 tsp baking soda
1/2 tsp salt
1 cup buttermilk, room temperature
1/2 cup sour cream
2 Tbsp water
6 oz butter at room temperature
2/3 cup granulated sugar
2/3 cup lightly packed brown sugar
2 large eggs, room temperature
1 Tbsp vanilla
For the Caramel filling:
14 ounces store-bought soft caramels
1/3 cup heavy cream
1 Tbsp butter
1/2 cup salted peanuts, coarsely chopped
For the Peanut-Marshmallow Frosting:
8 ounces butter, room temperature
1 1/4 cups creamy peanut butter
1 tsp vanilla
4 cups powdered sugar
7 oz. jar marshmallow cream
To Finish:
1/2 cup chocolate fudge sauce or chocolate ganache
1/4 cup chopped peanuts
7 fun-size Snickers Bars, cut in half or coarsely chopped
To Make the Cupcakes:
1. Preheat the oven to 350 degrees. Line the cupcake pans with liners.

2. In a bowl, sift together the flour, cocoa powder, baking soda and salt.
3. In a separate large mixing bowl whisk together the buttermilk, sour cream and water.
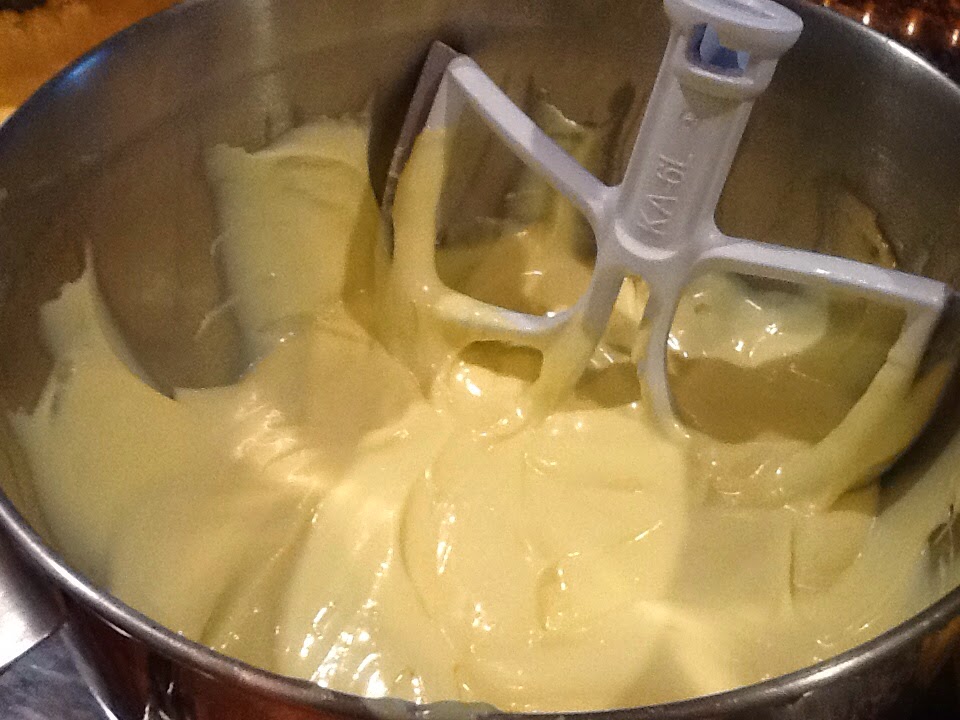
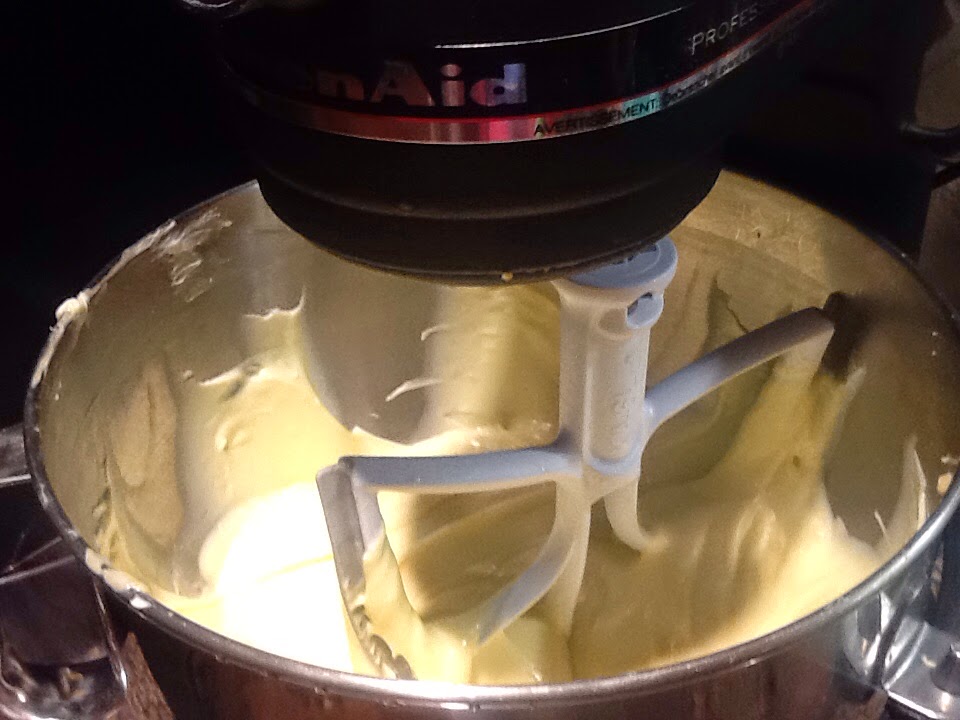
4. In the bowl of a large stand mixer fitter with a paddle attachment, beat together the butter and sugars until they are light and fluffy, about 3-5 minutes. Add the eggs one at a time, beating well after each addition, then add the vanilla extract.
5. With the mixer running on low speed, add quarter of the dry mixture. When it is mostly mixed in, add a third of the liquid ingredients. Continue to alternate adding drys and liquids, ending with the dry ingredients. When the drys are almost all mixed in and only a few streaks of flour remain, stop the mixer and finish mixing by hand with a spatula. Scrape down the bottom and sides of the bowl.

6. Scoop batter into the lined cupcake pans. Bake in the preheated oven for 22-25 minutes, until the tops of the cupcakes,spring back when lightly pressed. Cool completely.
To make the Filling:
1. Don't make the filling until you are ready to fill the cupcakes.
 2. Combine the caramels, cream and butter in a heavy saucepan. Stir constantly on medium low heat until the mixture melts evenly. This may take a while, but continue to stir and heat until you have a smooth fluid mixture. Add the chopped peanuts and stir them in.
To Make the Frosting:
1. Combine the butter and peanut butter in the bowl of a large stand mixer fitted with a whisk attachment, and beat on medium-high speed until light and fluffy.
2. Add the vanilla, cream and powdered sugar, and mix on low speed until the sugar is moistened. Raise the speed to medium, and continue to beat until the mixture lightens and becomes fluffy and smooth.
3. Add the marshmallow cream and stir it in by hand using a rubber spatula, scraping the bottom and sides of the bowl well.
4. Once the frosting is well-mixed, spoon it into a pastry bag fitted with a star tip.
Assembly:

1. Use a sharp paring knife or an apple corer to cut a cone shaped hole out of the top of the cupcakes.
( Save these core to put on after you fill the cupcakes)

2. Scoop the caramel-peanut filling into the hole, coming almost to the top. Replace the core to seal the filling inside the cupcake.
If the caramel starts to get a little hard to work with, microwave it briefly until it is fluid again.
3. Once all the cupcakes are filled, pipe the frosting on top in one big decorative swirl. Add a drizzle of fuge sauce or chocolate ganache. We made our own ganache - 1/2 cup chocolate chips with 2 TBSP cream melted for 1 minutes in the microwave. Stir till glossy and then drizzle over the cupcake tops.
4. Add a sprinkling of peanuts and Snicker's bar pieces. Store Snickers Cupcakes in an airtight container at room temperature - or frig. Enjoy within 3-4 days.
Thanks to Sugar Hero for this great recipe. You can find the original recipe here . Please copy and print the recipe below and try these wonderful "little cakes" for yourself.
Snickers Cupcakes
yield: 14 cupcakes Chocolate cupcake recipe adapted from Barefoot Contessa at Home by Ina Garten
For the Cupcakes: 1 3/4 cups (7.8 oz) all-purpose flour
1 cup (3 oz) good-quality cocoa powder
1 1/2 tsp baking soda
1/2 tsp salt
1 cup full-fat buttermilk, at room temperature
1/2 cup full-fat sour cream, at room temperature
2 tbsp water (can substitute brewed coffee for richer flavor)
6 oz butter, at room temperature
2/3 cup (4.75 oz) granulated sugar
2/3 cup (5 oz) lightly packed brown sugar
2 large eggs, at room temperature
1 tbsp vanilla extract
For the Caramel-Peanut Filling: 14 oz store-bought soft caramels
1/3 cup heavy cream
1 tbsp butter
1/2 cup salted peanuts, coarsely chopped
For the Peanut-Marshmallow Frosting: 8 oz butter, at room temperature
1 1/4 cups creamy peanut butter
1 tsp vanilla extract
1/4 cup cream
4 cups (1 lb) powdered sugar
7 oz jar marshmallow cream
To Finish: 1/2 cup chocolate fudge sauce or chocolate ganache
1/4 cup chopped peanuts
7 fun-size Snickers bars, cut in half or coarsely chopped
To Make the Cupcakes: Preheat the oven to 350 F. Line 14 cupcake cavities with paper liners.
In a bowl, sift together the flour, cocoa powder, baking soda, and salt. In a separate bowl or large mixing cup, whisk together the buttermilk, sour cream, and water (or coffee).
In the bowl of a large stand mixer fitted with a paddle attachment, beat together the butter and sugars until they’re light and fluffy, about 3-5 minutes. Add the eggs one at a time, beating well after each addition, then add the vanilla extract.
With the mixer running on low speed, add a quarter of the dry ingredients. When it’s mostly mixed in, add a third of the liquid ingredients. Continue to alternate adding drys and liquids, ending with the dry ingredients. When the drys are almost all mixed in and only a few streaks of flour remain, stop the mixer and finish mixing by hand with a spatula. Scrape down the bottom and sides of the bowl.
Scoop the batter into the lined cupcake pans. Bake in the preheated oven for 22-25 minutes, until the tops of the cupcakes spring back when lightly pressed. Cool completely.
To Make the Filling: Don’t make the filling until you’re ready to fill the cupcakes. Combine the caramels, cream, and butter in a microwave-safe bowl. Microwave in 30-second increments, stirring well after every 30 seconds. They may resist melting and coming together at first, but continue to stir and heat until you have a smooth, fluid mixture. Add the chopped peanuts and stir them in.
To Make the Frosting: Combine the butter and peanut butter in the bowl of a large stand mixer fitted with a whisk attachment, and beat on medium-high speed until light and fluffy. Add the vanilla, cream, and powdered sugar, and mix on low speed until the sugar is moistened. Raise the speed to medium, and continue to beat until the mixture lightens and becomes fluffy and smooth. Add the marshmallow cream and stir it in by hand using a rubber spatula, scraping the bottom and sides of the bowl well.
Assembly: Use a sharp paring knife to cut a cone-shaped hole out of the top of the cupcakes. Scoop the caramel-peanut filling into the hole, coming almost all the way to the top. Cut the bottom off of the cupcake cone, and replace the top of the cupcake on top of the caramel. (The cupcake filling can be eaten or thrown away—I trust you will find something to do with it.) If the caramel starts to get a little hard to work with, microwave it briefly until it is fluid again.
Once all of the cupcakes are filled, pipe the frosting on top in one big decorative swirl. Add a drizzle of fudge sauce or chocolate ganache, a sprinkling of chopped peanuts, and half of a fun-sized Snickers bar on top. Store Snickers Cupcakes in an airtight container at room temperature, and enjoy within 3-4 days.
Hope you enjoy these beauties and remember it's nice to share with others!!!
Happy Trails,
Mtn Mama